Sunday, February 16, 2014

You can have a special treat - Especially on your Birthday!

Birthday Boy was a Happy Camper!


Paleo Pudding with Cashew butter balls and coconut whip cream

2 avocados
2-3 Tbls dark chocolate coco powder
1-2 Tbls honey (adjust to your sweetness. I add less and then add more.)

Cut avocado in half and remove pit. Scoop out avocado into a food processor. Add honey and chocolate. Spin until all ingredients are smooth and creamy. Stop and scrape sides and spin again.
Pour pudding in a dish. Add a couple of cashew butter balls on top (this is actually cashew butter that I had made up in the fridge. I took a baby amount out and rolled it into a ball). Put in in fridge until dessert time! For coconut whoopin cream, leave a can of coconut milk in the fridge over night. Top pudding with this delicious goodness last minute. I was so excited I put it in the freezer to keep cold. Ummm, I forgot and it actually turned into coconut ice cream. So there is another option for you! LOL Anyway, open top and scoop out the thick cream that is on the top portion of can. Put in a bowl and mix with blender until whipping action starts to form. You may add a little more of the coconut milk if needed.


Enjoy licking the bowls for each of these tasty treats. Marty was very happy to do that. Of course he is the Birthday boy so it's a must! Enjoy!

Gluten free and Paleo friendly meal 

Tapenade adjustment...

The version of Tapenade I made in my previous link Lets get to basics is creamy goodness. This weekend however, magic happened.

This time I took the olives for a spin with new friends! I like this version even better. Bare with me, I eyeball this in my food processor. This is a good guess. Adjust the flavors to suit your tasty buds.


Tapenade

2 cup combined black and green sliced olives
2-4 Tbls olive oil
1/2 Tbls rinsed and drained capers
1 clove chopped garlic
1-2 Tbls leaves of fresh parsley

Blend all ingredients in a food processor. Stop and scrape edges and blend again. Scoop into a cute little dish and spread on tomatoes, carrots, zucchini slices or whatever sounds good to you! Enjoy!

Gluten free and Paleo friendly meal

Shown in photo: Deviled dijon dill eggs, fresh carrots, tomatoes, tapenade, cashew coconut dark chocolate balls and dark chocolate dipped/filled strawberries.

It's about the Journey...

Wow! I can't believe we wrapped up the Whole 30. It has been really great! I highly recommend giving it a try.  It will radically change your thought process about healthy choices. It's not about the food, it's about the journey. All in all it was very liberating.

Now it is time, as The Whole 30 peeps put it, to Ride your own bike - Take off the training wheels.
As we begin this next phase, I've got to tell you, my desires to run back to eat all the things that have been subtracted from my daily diet are really not screaming at me, "Eat me, eat me! Drink me, drink me!" Since finishing the Whole 30 we did however enjoy some wine, had some feta cheese, delicious hard cheese, and some dark chocolate and coconut dipped fruit. These have been simple pleasures and enjoyed with friends. We could have gone crazy and run down to the store to pick up a bag of chips, some cookies and ice cream but nope! Didn't happen. Wheeew! Good news there! Instead, I think I am hooked on Marty's homemade sweet potato chips and to curb his sweet tooth, I make cashew, coconut flakes and dark chocolate haystack balls. Healthful choices that do require time to prepare and make, but by doing that, it makes us appreciate the end product.

Marty and I will continue to eat healthful but will now amp up our fitness. The next 30 days we are planning to work out 3 times a week focusing on cardio and core. Why tell you all about this? Well, maybe the accountability for ourselves. As the Whole 30 peeps say, "Say it out loud!?" That is hard to do sometimes because I think, like most of us, when something is said verbally, you put yourself out there. It's a vulnerable place to be. But like I said before "It's not about the food, it's about the journey." Breaking patterns, overcoming our weaknesses, gaining strength physically and mentally, being of clear mind and opening up creativity, sleeping fully, hydrating throughout the day, replacing a few items in cupboards, fridge and counter not only cleans your kitchen, it will clean your body, mind and spirit.

Last week was Marty's Birthday. His request for dinner was homemade pizza. He has grown to love my eggplant pizza crust inspired by Lexis Clean Kitchen. I made this for the first time a couple of months ago and mastered a new mix this go around for Marty's B-day.


This crust is not the typical "bready-doughy" crust that we are used to. It is a lighter yet very filling crust. Just 2 slices and your belly is full and smiling. Here is my version of this crust.

Eggplant Crust (perfect for 2 people)
1 large eggplant, pealed and grated
1 tbsp extra-virgin olive oil for greasing the parchment paper
1/4 cup ground cashews (blend until just before it starts to turn into cashew butter)
2 tbsp coconut flour
1 tbsp sesame seeds
1 organic egg
1 tsp dried herb mix
1/2 tsp sea salt
1/2 tsp pepper

Prepare the crust

  • Heat oven to 350 degrees.
  • Peel and grate eggplant into a bowl- let sit for 10 minutes while preparing topping ingredients.
  • Squeeze the shredded eggplant. Purple juice will appear. Place squeezed eggplant in a paper towel or cheese cloth to remove any more excess juices.
  • In a big bowl place the squeezed eggplant (it doesn't look like a lot. Don't worry), combine the rest of the crust ingredients and mix well.
  • Cover baking sheet with parchment paper and pour 1 Tbls olive oil and spread the area where crust will be baking.
  • Plop the dough in the center of cookie sheet and press out to desired shape. I usually spread it out till 1/4 inch thickness.
  • Pop in oven and bake about 15 minutes. Edges will start to get a little browned.
  • Pull cookie sheet out of of the oven to flip crust. Place another sheet of parchment paper on top of crust and carefully flip it onto the new piece of paper.
  • Bake on the other side for about 10 minutes. Keep an eye on the edges of crust.
  • Remove cookie sheet from oven and top crust with whatever toppings your little heart desires.
  • Crank the oven heat up a bit and place your masterpiece in the oven for about 5 minutes.
  • Let cool for 3-4 min and then cut and serve.

Toppings on pizza in photo
Olive oil, cooked chicken breast cut into bite size chunks, artichoke hearts, sliced mushrooms, green and black sliced olives, chopped fresh spinach and home made pesto sauce. Spread a bit of olive oil on crust and then layer toppings. In a sauce pan heat up pesto and 1/4 cup coconut milk. When it is warmed up sprinkle 1 tsp of arrowroot powder and mix well. Bring to a calm boil. Mixture should start to thicken. Drizzle creamy pesto sauce over top of toppings. Pop in oven to heat through. Garnish with sliced tomatoes.

Side note: You don't have to mix the coconut milk and pesto. Marty wanted to experiment with these two ingredients. It tasted pretty darn great!

Enjoy whatever topping and sauce you want on this crust. Have fun and enjoy!

Think next time we will try a red herb sauce with tiny sausage balls, basil leaf and sun dried tomatoes. Hmmm, my mouth is watering already!

Gluten free and Paleo friendly meal

Saturday, February 8, 2014

Blended Cauliflower = Delicious Hummus

The inner "granola" in me loves to bring hummus dip to a gathering or have it ready for dippin in my fridge. Blended garbanzo bean earthy dip. It is so good, I can't help it! In the morning, I like to spread the dip on some toast and layer it with tomato and cucumber with a dash of salt and pepper. Yes, that is what I call a breakfast! My friends always look at me funny when I spread it on in the morning while they are spreading butter, peanut butter or jam on their toast. LOL!

This recipe was sparked by my oldest daughter Megan. As I mentioned in a previous post, she too is doing the Whole 30 this past month. She told me she was making cauliflower hummus and sweet potato chips. Hmmmmm...now that sounds very interesting! I have missed hummus since we came back from the States. You can get garbanzo beans here but we started the Whole 30 (no legumes) shortly after we got back from winter holiday. HUMMUS! That sounds so good! I asked her where she found the recipe and she directed me to her Pinterest. Found it! I scoped out the ingredients and found out what I needed to adjust. I did't have any tahini so I made up some cashew butter and used that instead. YUM! Mixed with the cumin, it added just the right amount of warm cozy earthy flavor that hummus is famous for. Marty is the sweet potato chips and fries maker in the family so while I was giving this cauliflower hummus experiment a try, he was busy prepping the sweet potatoes.

Cauliflower Hummus

1 head of clean shopped cauliflower
2 Tbls cashew butter
4-6 Tbls olive oil
2-3 cloves chopped garlic (depends on how much you like your garlic)
1 tsp cumin
1 tsp pepper
1/2-1 tsp red pepper flakes (or to make it a bit sweet add a couple chopped sundried tomatoes instead)
2 tsp salt
Juice of 1 lemon


On a baking pan lay out chopped cauliflower. Pour 2 Tbls over cauliflower and toss. Pop the pan in the oven on 400 degrees and let bake for about 5 min. Check cauliflower and stir it around. Bake for another 5 min. You want the cauliflower to be slightly roasted.
While the cauliflower is baking, mix together in a bowl 1 Tbls olive oil, cashew butter, red pepper flakes, chopped garlic, cumin, pepper, salt, and lemon juice.
When cauliflower is done put 1/2 of the mixture in the processor (I have a baby size one) and pour 1/2 of the liquid mixture. Mix on high for a bit. Stop and scrape edges. Add 1/2 Tbls of olive oil and blend again till smooth.
Pour mixture in a bowl and do the same for the other half of cauliflower. Stir together both creamed mixtures in a big bowl. Return 1/2 of the mixture back to the food processor blend again. Repeat with the other 1/2. This will blend everything together nicely.


Serve in a bowl and store the rest in a sealed container in the fridge. Eat this goodness in the next couple of days. Hummus never used to last more than 3 days in our house so I don't think this new version will go to waste. Enjoy!


Gluten free and Paleo friendly snack

Inspired by: http://livinggrainlessly.com/2013/05/27/cauliflower-hummus/

Wednesday, February 5, 2014

So tonight is all about Chicken!

Just about every morning I have coffee/tea with our youngest daughter Katie. She is in WA State and we are on the other side of the world in North Africa. Technology is amazing! It is a ritual we have had for the 4 years since being overseas. We giggle, share, problem solve and just down-right enjoy our coffee/tea time together.

This morning's conversation had to do with a sore knee from running, a math question for dad and what to do about making chicken. My daughter said, "Mom you need to post some chicken recipes! I need ideas on how to cook it so it isn't so darn dry." I said, "OK let me see what I can drum up for ya!"
How about this one?


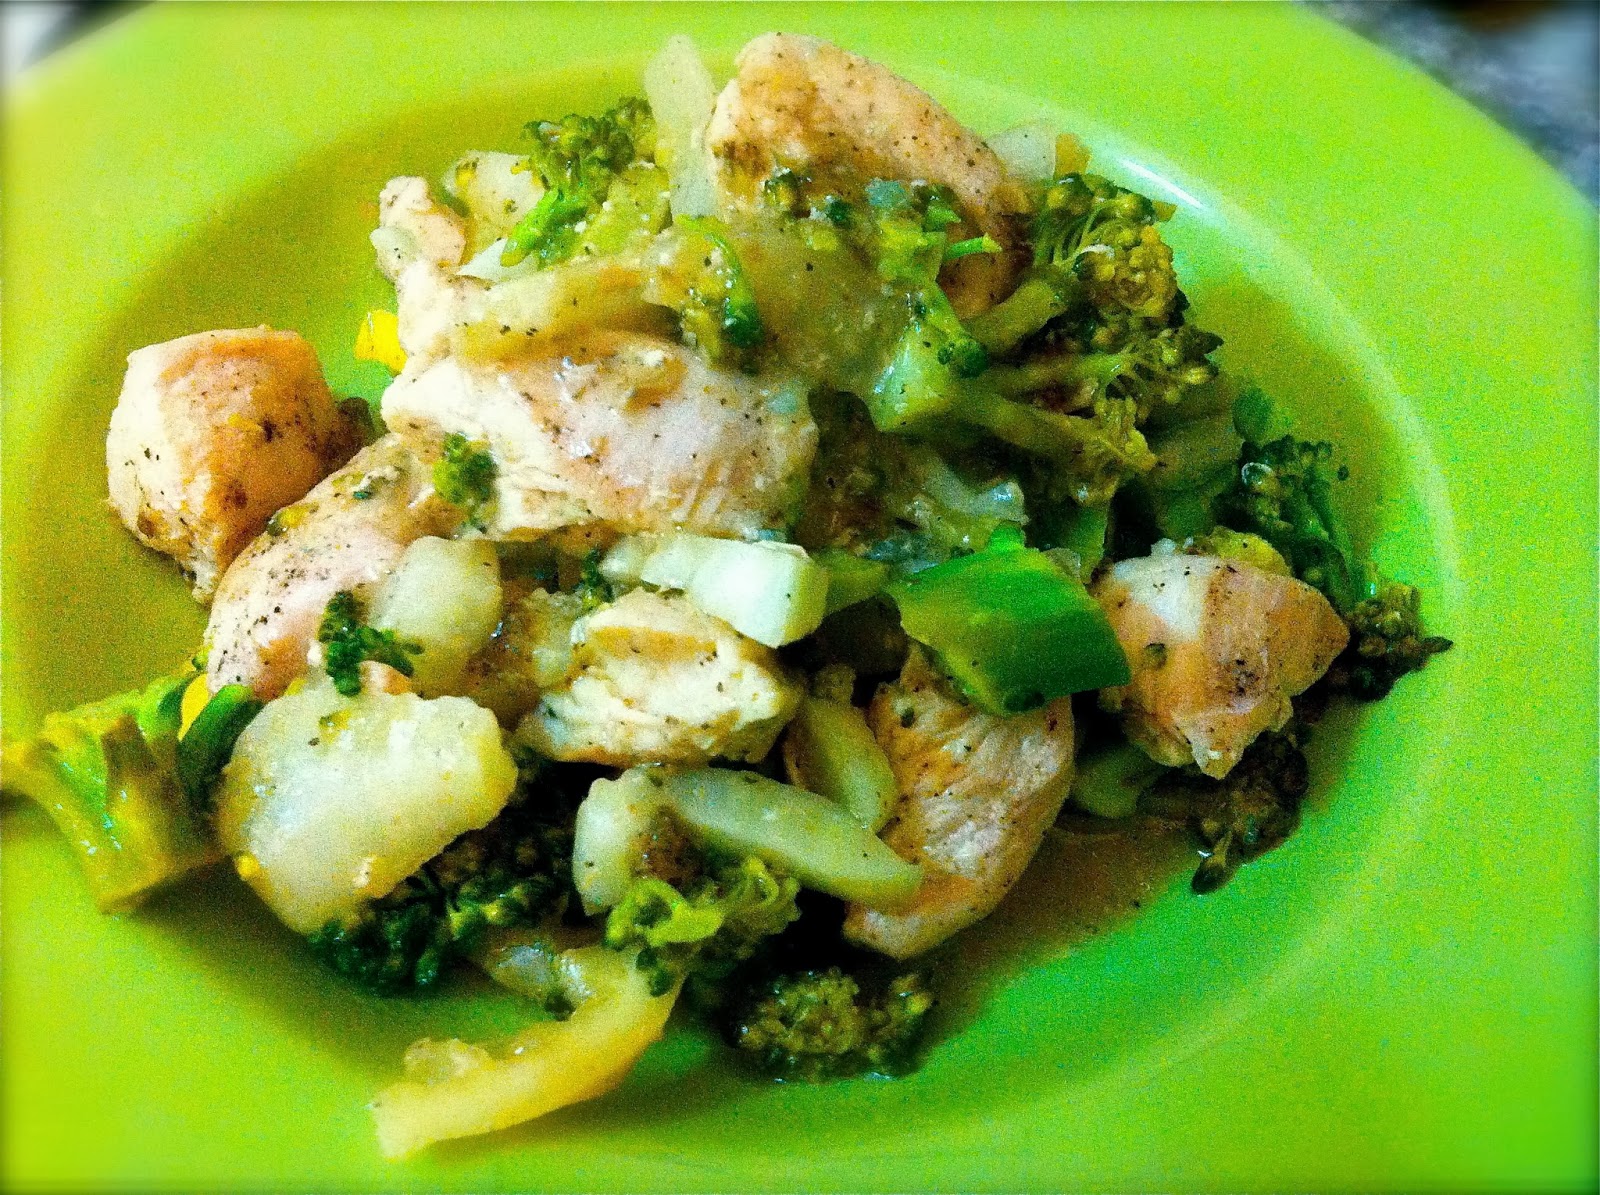
Mushroom Lemon Chicken 

3 skinless boneless chicken breasts
3 Tbls olive oil
2 clove garlic minced
1 cup of mushrooms sliced (or 1/2 cup *mushroom broth)
1 medium lemon or 4 baby lemons, thinly sliced (yummy to eat in this recipe)
1/2 tsp pepper
1/2 tsp oregano or mixed herbs
1 cup chicken broth
1 Tbls arrowroot powder (for thickening)
1 can whole artichoke hearts, drained and quartered (OR 1/2 of sliced fennel bulb and small head of chopped broccoli)
Garnish - sundried tomatoes and chopped fresh parsley or cilantro.

Directions:


Salt and pepper each side of chicken. 


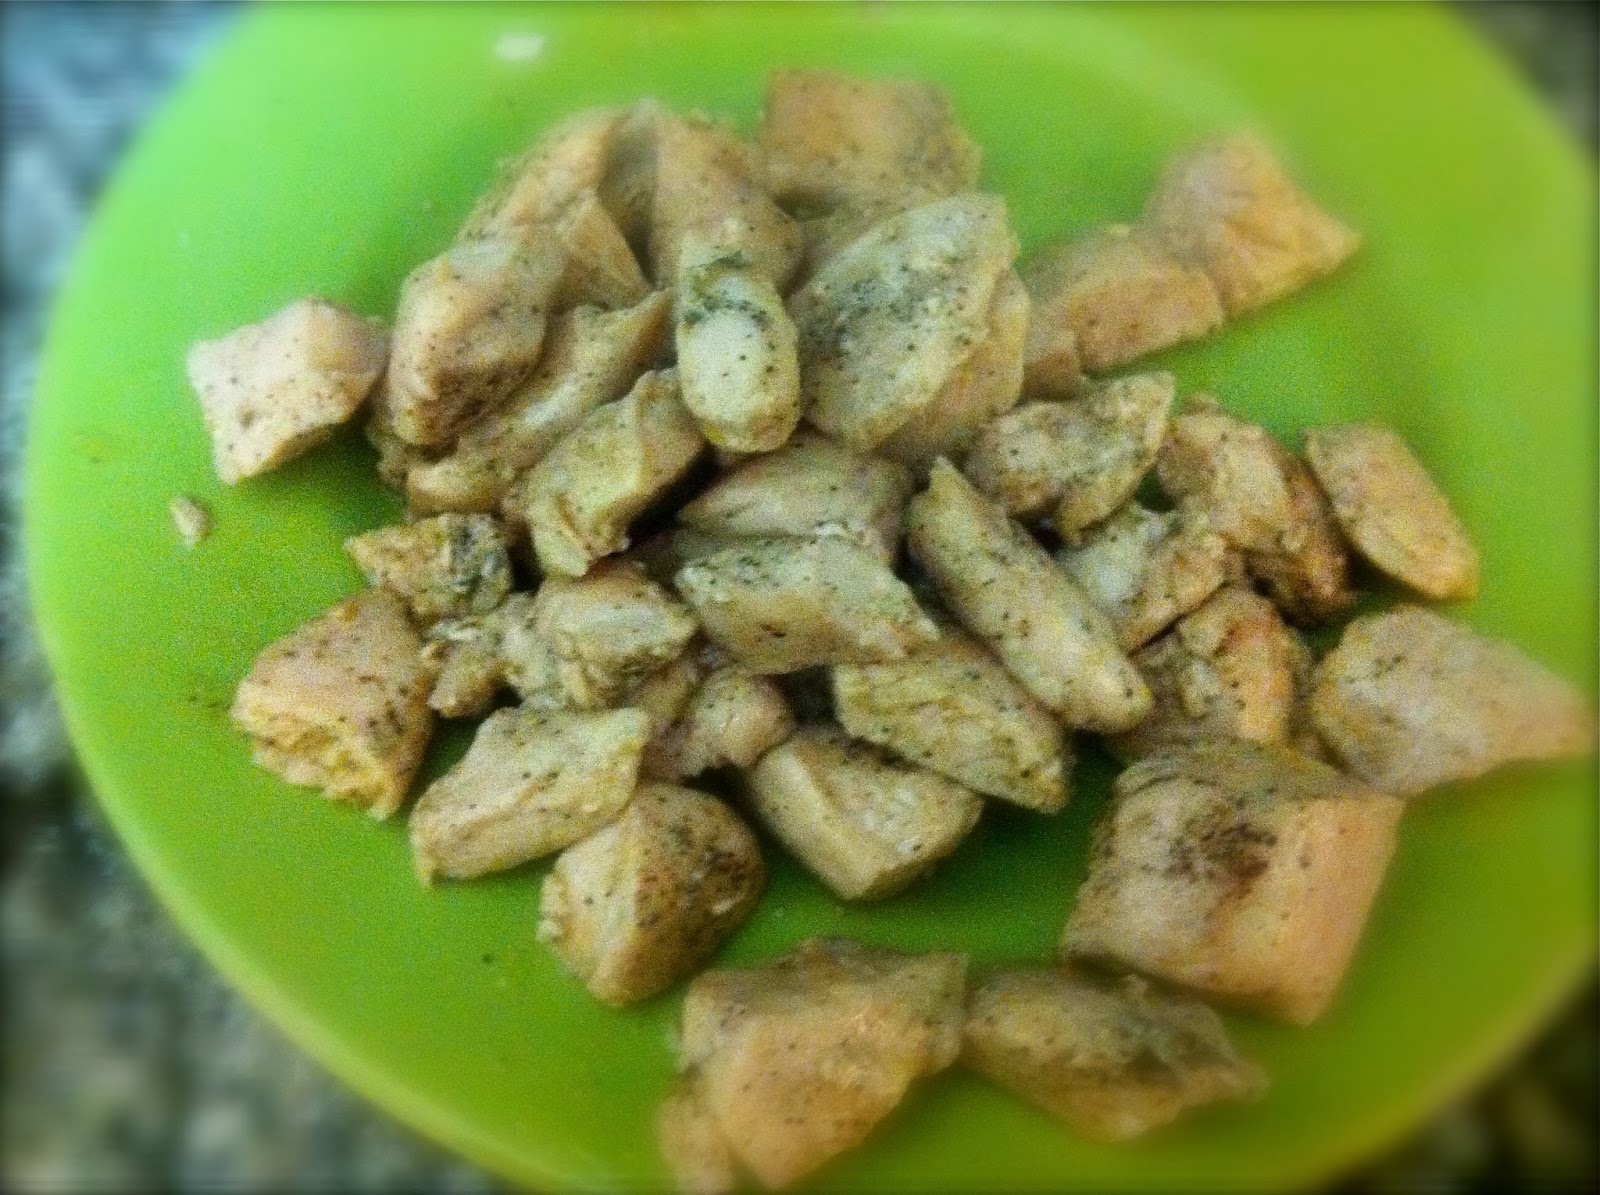
Cut chicken into bite size squares.


In a large fry pan, heat the olive oil. Add chicken to the pan and cook 3-4 min and then flip. Cook through till no longer pink. 


Remove chicken and keep warm.


 In the same pan if you don't have artichoke hearts, saute the broccoli and fennel for 3-4 minutes so the broccoli is bright and the fennel is beginning to get tender. Remove from heat and set aside. (If you are using artichokes, skip this step and add them at the end with the chicken to heat through)


In same pan, add garlic, lemon and mushrooms (or broth). Cook until tender, 3-5 minutes. If using mushroom broth, cook for 2 min. 


Sprinkle in the arrowroot powder, pepper and oregano. 


Stir for about 1 min to make a rue.


Add broth, and bring to a boil, stirring until mixture thickens. 


Add artichokes or fennel/broccoli and return chicken to pan. Stir and simmer about 2-3 minutes until heated through.

Sprinkle with a little salt and pepper and garnish if desired.

For Paleo: Serve over steamed zucchini noodles.
For Gluten free: Serve over cooked Asian rice noodles or GF noodles.


*mushroom broth: saute mushrooms in 1-2 Tbls olive oil. cook until mushrooms are soft and tender. cool and blend in a blender until smooth and creamy. Pour into small containers and save in freezer to pop in recipes.

Gluten free and Paleo friendly meal

Breakfast on the go

As I said before, Marty is the master breakfast maker. Sunday he made up some great ham and egg roll-ups and put them in the fridge in an air tight container for the week. Every morning he re-heats a roll-up in a fry pan (we have no microwave). I can only eat half of it because it is so filling. Nestled beside this protein loaded gem is some homemade kraut. I gotta tell you, I don't even miss the flour tortilla wrap in this little beauty of a meal.


Beat 12 eggs and 2 Tbls water.


Add whatever veggies you want. This photo has some chopped fennel, green pepper and mushroom.


Fry up eggs so they are mostly done. They will cook more in the oven. Pour a spoonful or two of egg mixture on a bed of spinach, arugula leaves and large/medium ham slice.


Roll up the party.


Secure with some tooth picks.


Lay all the roll-ups in a baking pan and bake at 350-400 until ham is the desired doneness.


Mouth watering!


Cool and then pack the roll ups in a sealed container and reheat for breakfast. Another idea is to wrap roll-up in baking paper (parchment) and store in container. Grab one on the go and unwrap it while you eat! Enjoy!


Gluten free and Paleo friendly

Recipe inspired by perusing Pinterest and located http://www.spoonfulofsugarfree.com/2012/02/21/paleo-breakfast-burrito/

Tuesday, February 4, 2014

Citrus Crock-pot Pork

My crock-pot and I have a date every Sunday since I brought him home from Germany. He sits in the corner of my tiny counter-spaced kitchen waiting for his next job. Why do I have the weirdest imagination? LOL! I guess I am still a kid at heart!

Anyway, Sunday's are a day where Marty and I pretty much hunker down at home and putter around the house doing different projects, grading papers, reading, staying in our PJ's, communicating through Skype or gmail chat with family and friends, and prepping our meals for the week. It's a restful day for us mind, body and spirt.

So this week my date with the crock-pot was something to do with a beautiful pork roast. You can make this recipe with a beef roast too if you choose. Anyway, remember my fascination with the citrus here? Well, it was time to put the pork and citrus together. My mouth was watering, I could taste the end product already and I hadn't even started or thought what was going to go in the crock-pot!

Sometimes I walk into my kitchen with no clue what I am going to make, and pull a recipe out of my head just by already tasting it in my mind. I scramble through my spice cupboard and veggie selection and lay it out on the table. Well, sometimes I lay it out on the table, usually I am pulling things out as I go along. Starting this blog has really helped me be more thoughtful about getting what I make out in print.

For years, I would make dinner or a new soup recipe and my kids would ask "Mom, what's in here?" I would rattle off the ingredients but rarely wrote it down. My kids encouraged me to get my recipes out on paper and said, "You need to make a cookbook!" (Love them kids!) The hardest thing for me was to create and write at the same time. I would get on a roll and just focus on the food.  So for a bit, my youngest daughter was my documenter in the kitchen. Fun memories. I have those scratched notes in my cookbook cupboard and have toted them around with me on my travels. I now have a place where I can actually unwrinkle them, press them out and get them in print! So remember to save those precious little foodie creations you made in the kitchen and wrote on teared up, food smudged, oil dropped, messy writing paper. They are a masterpiece just waiting for their time to shine.

Here is the little ditty that Mr. Crock-pot and I made on Sunday. It is mouthwatering goodness! I saved the leftovers for lunch with a side of cauli-rice. Super Yummy!


Ingredients: Pork roast, chicken stock, coconut oil, apple cider vinegar, juice of 1 orange, 1 carrot, 1/2 medium onion, 2 cloves garlic, parsley or coriander (cilantro), cumin, pepper corns, salt, paprika, pepper


1 Tbls each - sea salt, cumin, pepper corns, and paprika


1/4 cup apple cider vinegar


1/2 onion diced and 2 cloves garlic minced


2 lb pork roast


Remove the string from pork


Cut the pork in 1-1.5 inch slices


Season pork on both sides with salt and pepper


Add 1-2 Tbls coconut oil to fry pan. Add pork slices to brown.


While pork is browning, mix together pepper corns, salt, paprika, cumin, and parsley or coriander. Blend in orange juice of one orange. Set aside.


Flip pork to brown other side.


Add diced onion and minced garlic.


Flip pork over again. Move the onion and garlic around so they are now on the bottom.


While the pork, onion and garlic are still cooking add the liquid orange spice mixture and 2 cups chicken stock to the crock-pot. Add sliced carrots.


Add browned pork to the pot with the liquid covering it.


Scoop out the onion and garlic out of the pan and add to the pot.


Ready for the lid! Cover and turn on high for 1 hour. After 1 hour check the pork and make sure the meat is under the liquid. Turn to low and let it party for 6 hours.


After about 6 hours the meat should just fall apart. Remove pork from pot and place on a plate. Break meat up in chunks or a bit shredded. Scoop out all the onion and carrot goodness and a nice ladle of the juices and pour on top of the pork.


When all meat has been removed pour out juices through a strainer into a container. Save this wonderful juice for broth. Cool broth and store in fridge over night. Take off the layer of fat. Put broth in freezer for a recipe in the future.


Enjoy this dish with a side of spinach, sliced mushroom, tomato, and orange salad. Dressing: Squeeze juice of lemon, drizzled olive oil, and a dash of salt and pepper on top. Enjoy!

Gluten free and Paleo friendly meal